Making little nylon wrist straps
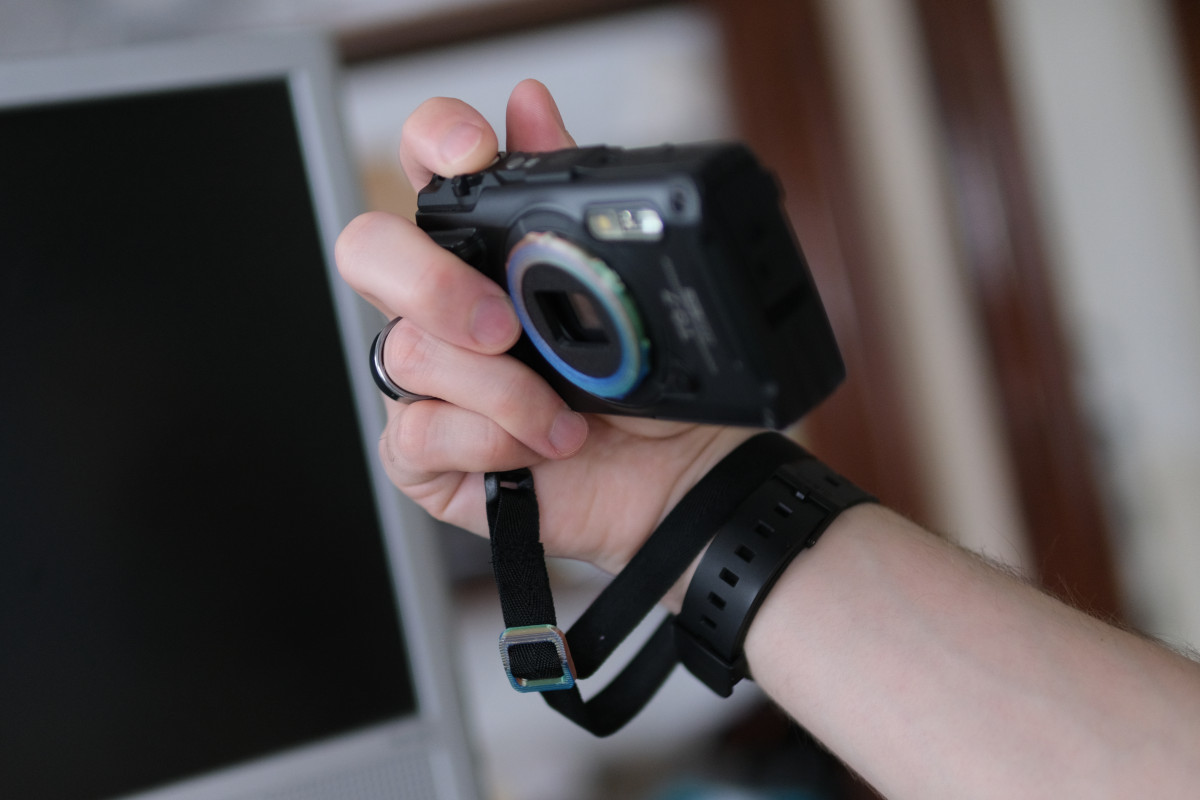
I like using wider band-style wrist straps for my cameras because they feel more secure and comfortable than round cord/rope-style straps while still being very compact. In the past I've used off brand ebay wiimote wrist straps for point and shoots, but the softer material those are made out of isn't as durable for outdoor use or in wet environments.
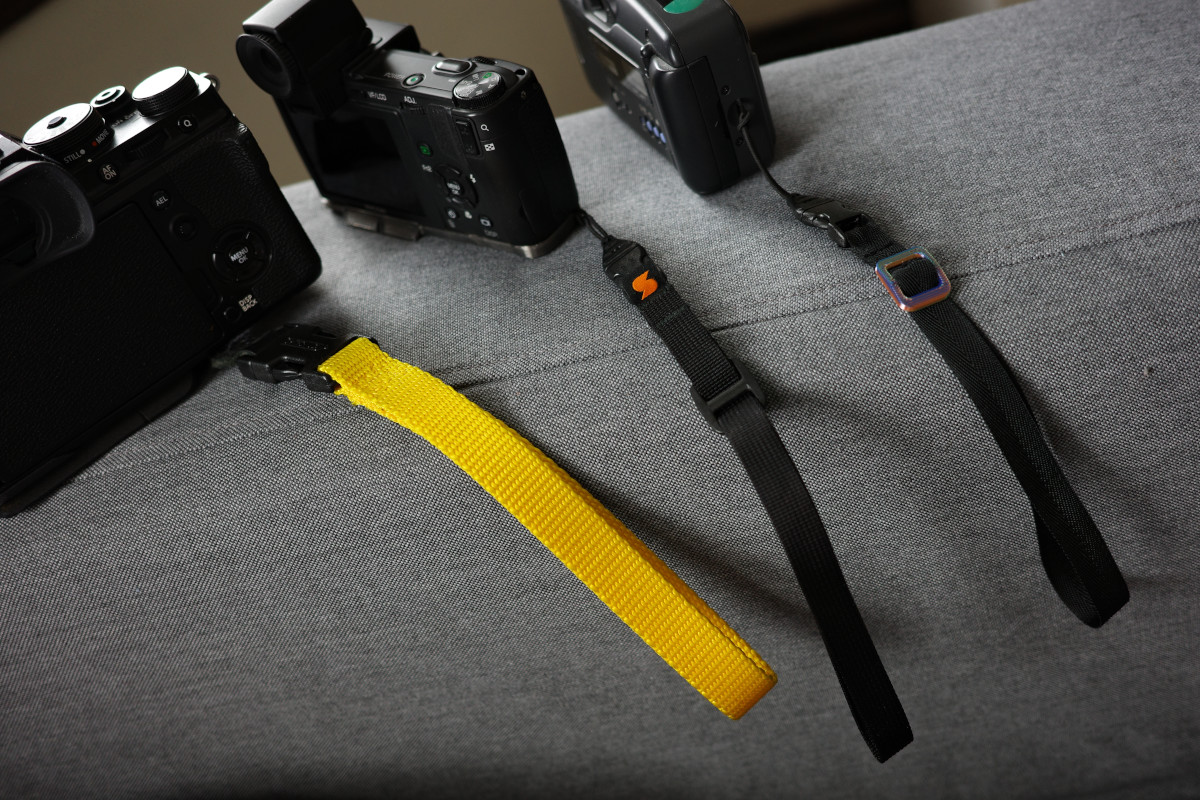
For my DSLRs and big cameras, I've made a couple big wrist straps out of thick nylon webbing from McMaster Carr. For the small ones, my favorite was one of these M1W wrist straps from simplr.us - but they don't make the version with buckles anymore!
I prefer to attach wrist straps with buckles so I can quickly swap them out for a neck strap on the fly.
So I decided to make my own...
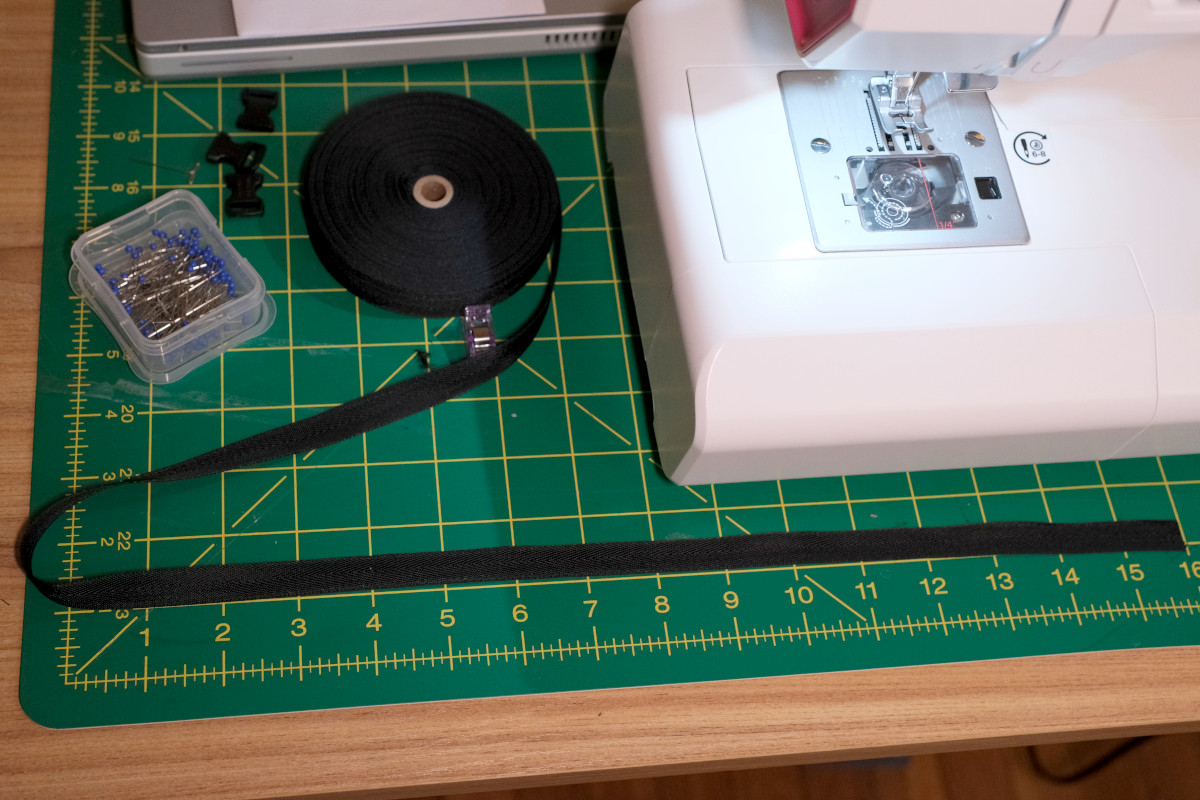
Stuff you need
- Buckles or other connectors
You can use any connector you want of course, but I'm using 1.5mm cord Op/Tech mini qd connectors (and full size uni-loop connectors for the big version) - partially because I already had extras, but also because I've been using one of their neck straps with these buckles for at least 12 years now so I know I can trust the durability. - Nylon webbing
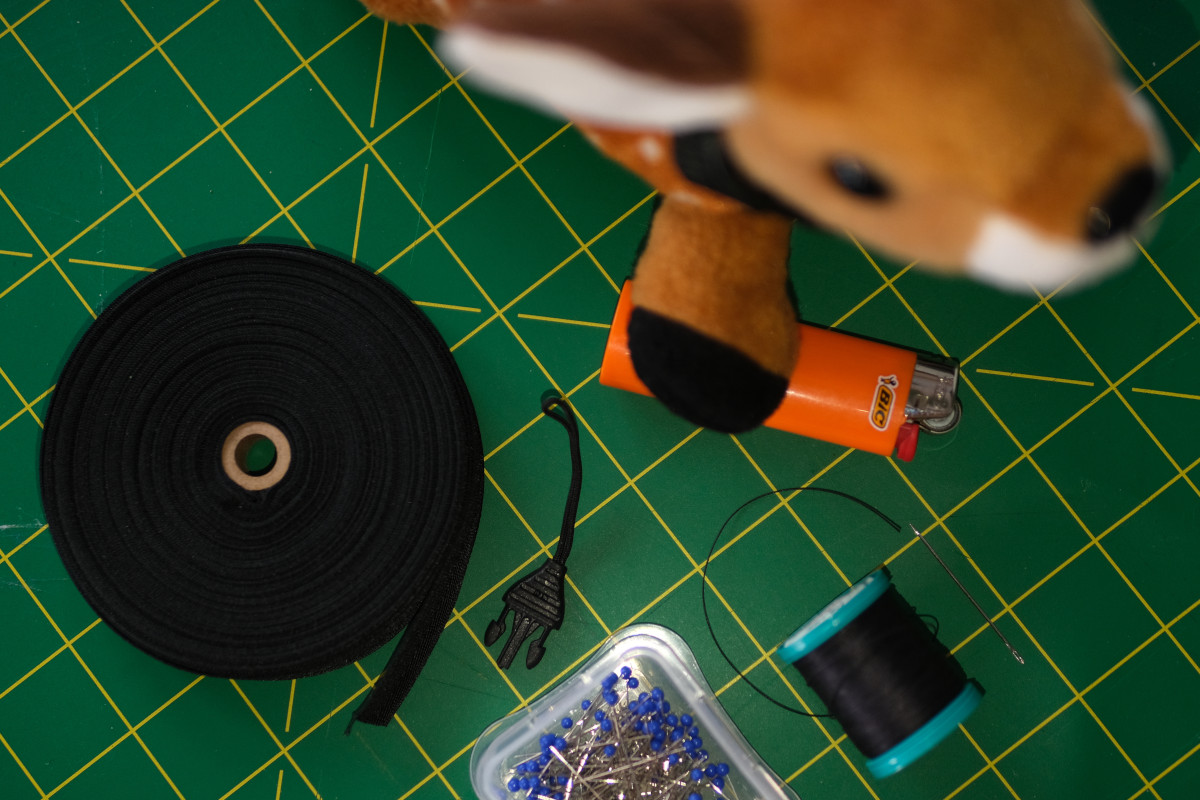
The buckles I'm using for the small straps have a 3/8" slot, but half inch nylon webbing fits fine. I used this roll of nylon fabric strip from McMaster Carr - it feels nice but if I'm being picky I think I would prefer it to be a little thicker.
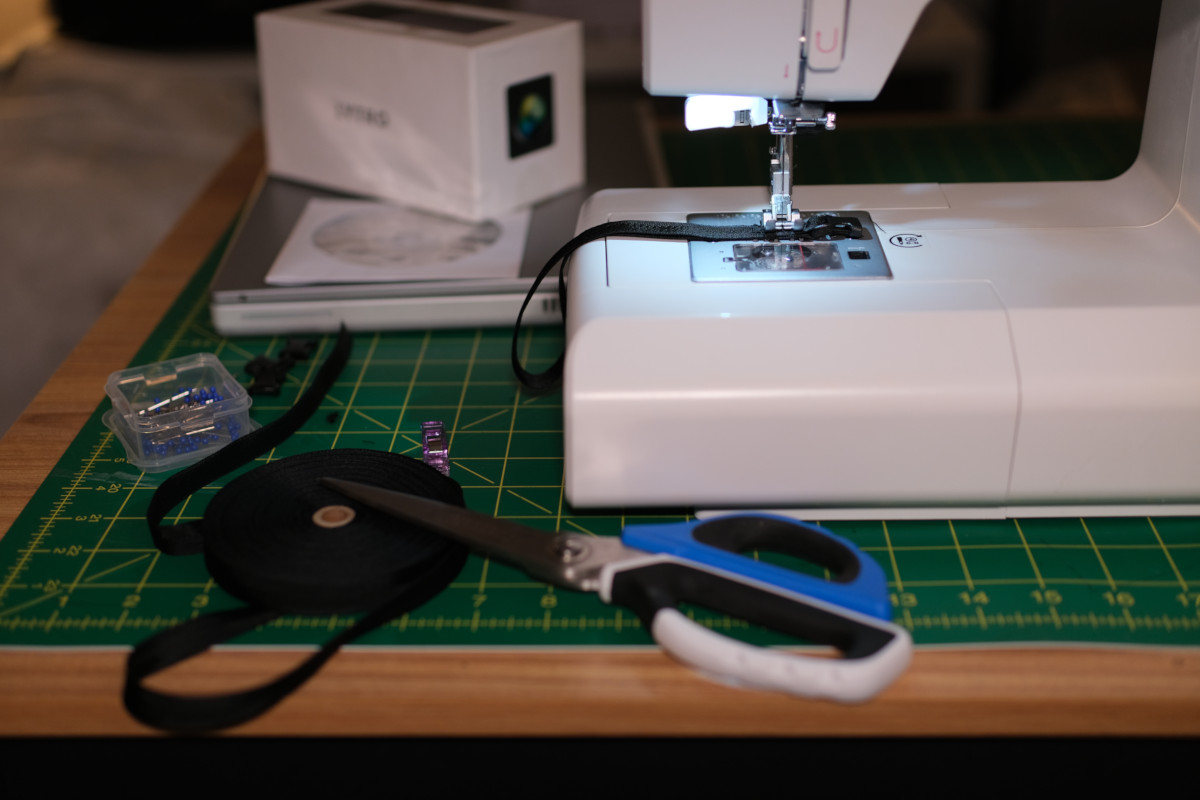
For the big version I used this heavier 1.5" nylon webbing. - Scissors or something to cut the nylon
- Needle & thread (or sewing machine), pins
Honestly this is probably easier to sew by hand, because you have to get pretty close to the buckle and it's a little hard to get in there with the machine depending upon what kind of foot yours has. - Your partners lighter
Steal
Optional:
- Webbing slides to adjust strap tightness
McMaster has some sizes of these, but they don't have a half inch one... You can probably find them on Amazon or at a local sewing store, or download my design.
1. Cut a strip of nylon webbing
I use about 16 inches for the small strap.
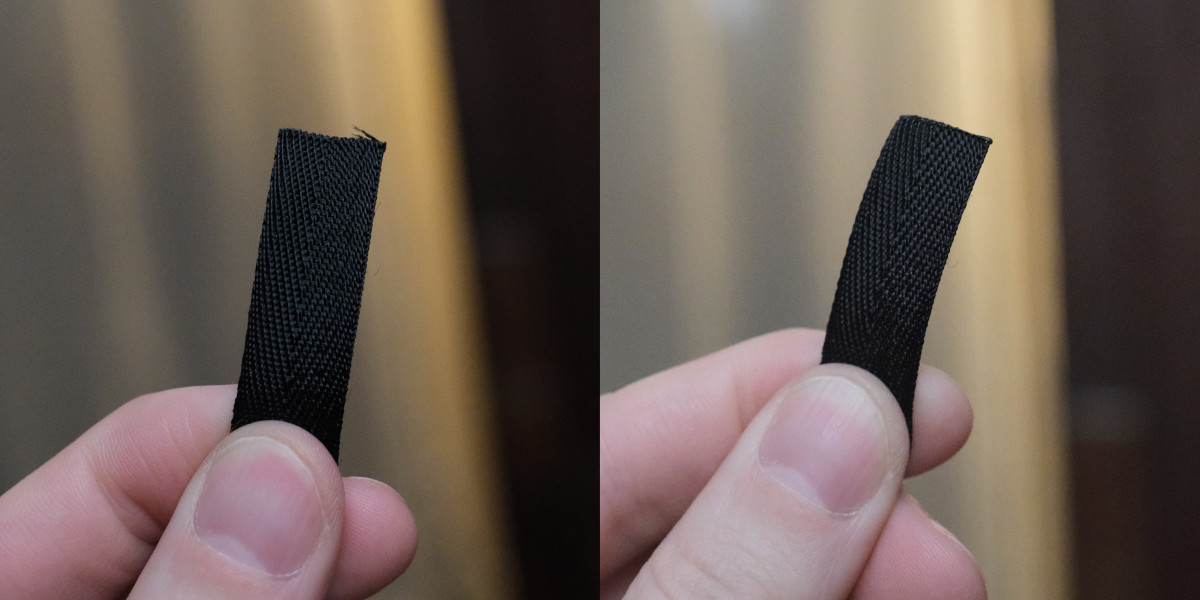
2. Blast the cut ends with the lighter to prevent fraying
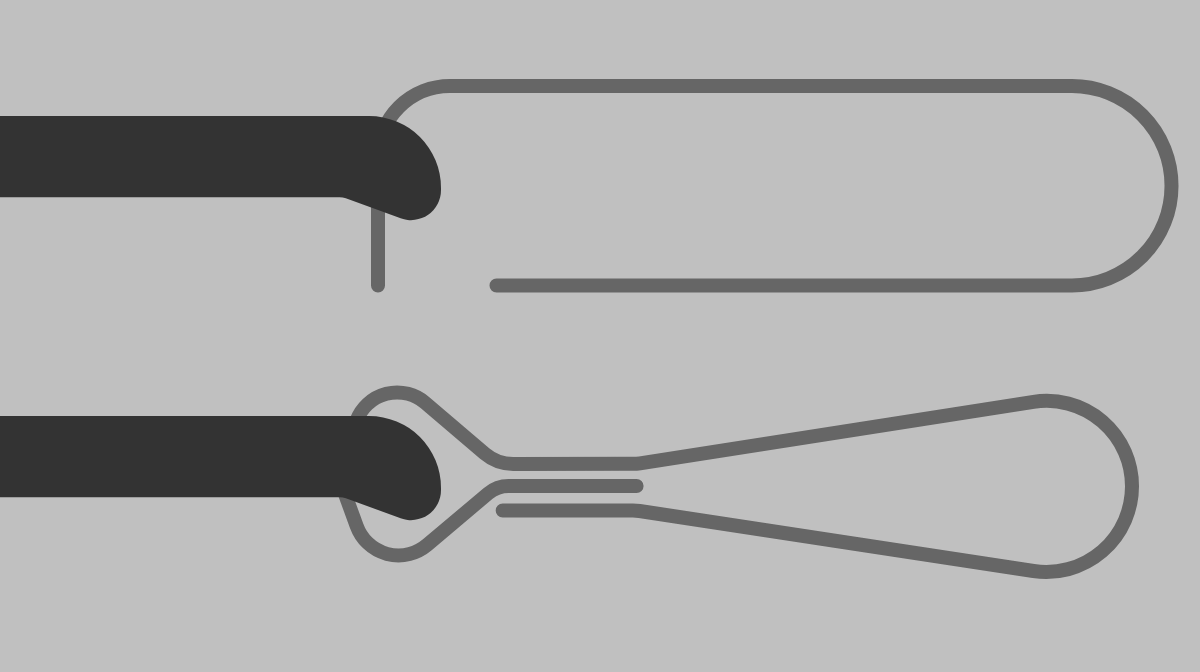
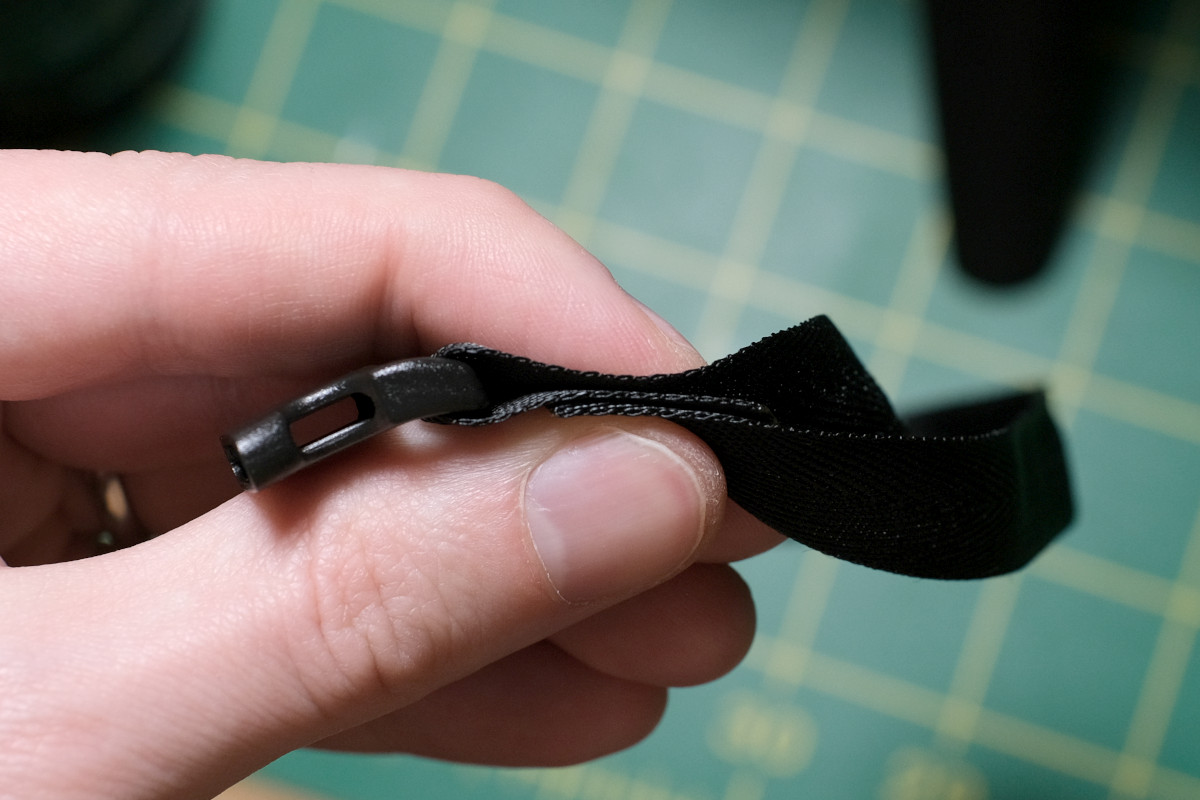
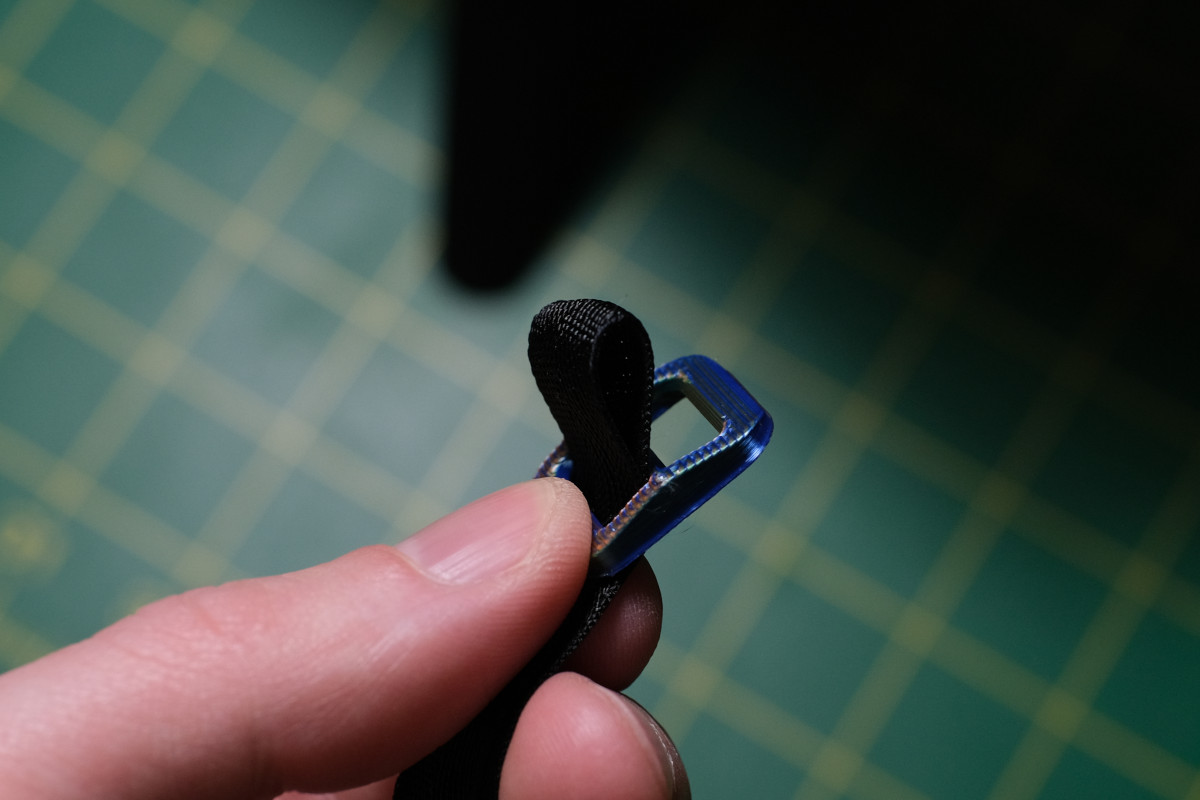
3. Make a loop through the buckle
We're aiming to end up with a three-layer stack, with the shorter cut end on the inside.
If there was an end that feels worse after the lighter step, put that end on the inside
If there's a bottom side to your buckles, put the exposed cut edge on that side.
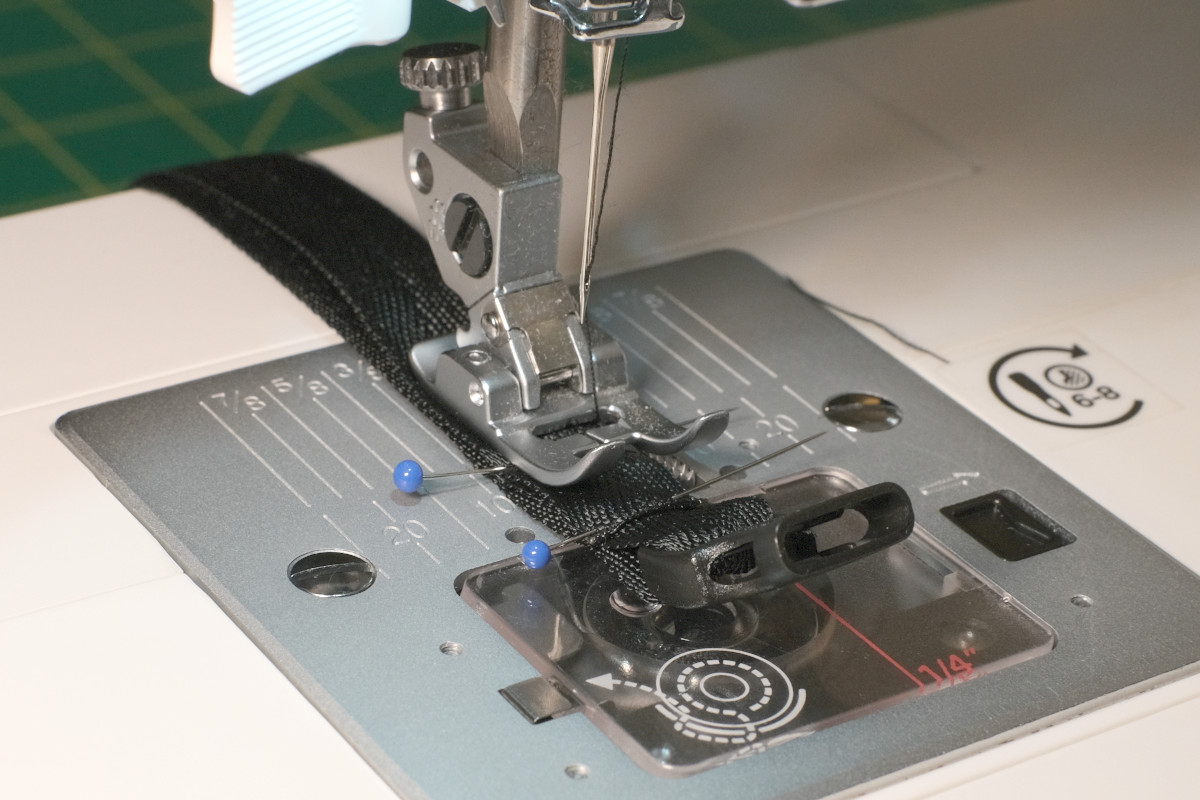
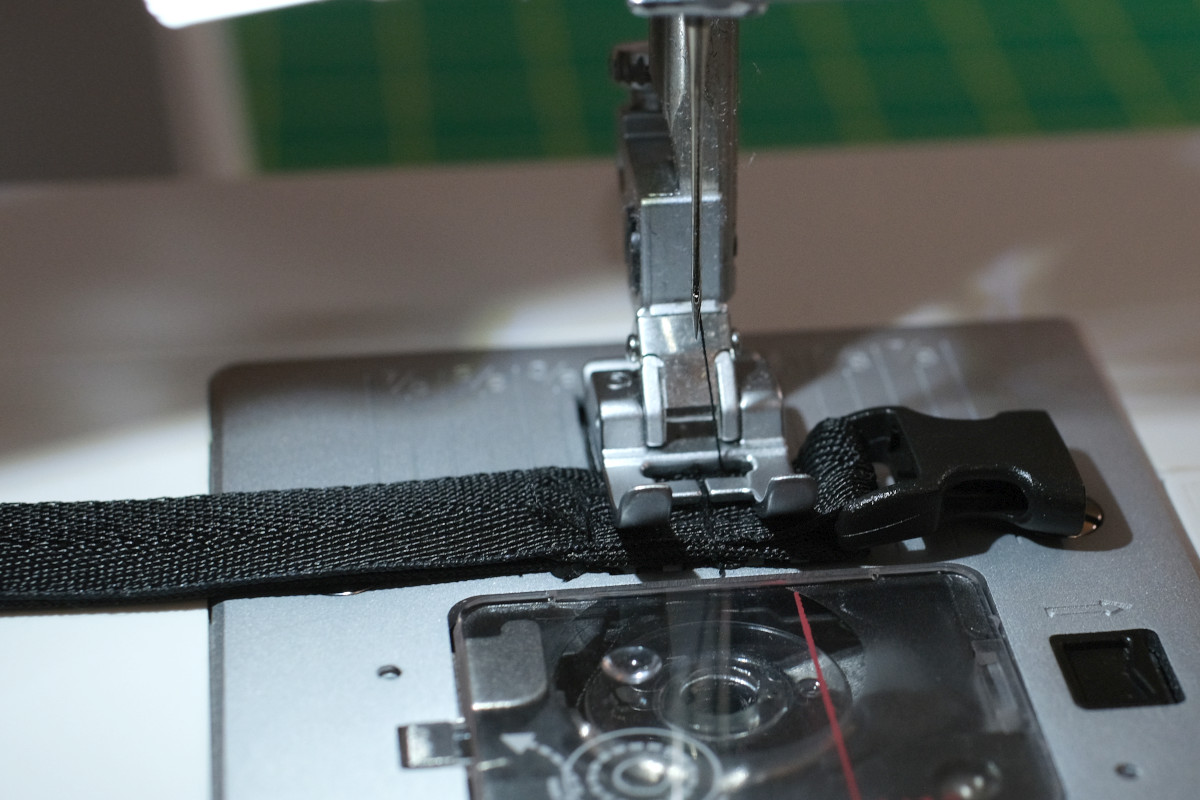
3. Sew it
It's kind of a pain to do for something so small, but I would suggest pinning the three layer sandwich together so it doesn't move around while sewing.
For machine sewing, I put the pins in, then squish it down with the machine's foot, and then remove the first pin once it's held together that way.
I make one stitch down each edge long ways to hold it in place, and then one stitch short ways across the strap at each end of the sandwich to strengthen it and keep the edges together.
If you're hand sewing or your machine has a very narrow foot, you could probably just do the short-ways stitches across the ends of the sandwich section.
4. Optional: Add a slide
If you want to be able to adjust tightness, add a webbing slide.
Download my design for a half inch slide
Yay you're done!